Papier mache do it yourself
Art papier mache (translation from French "torn paper") appeared at the beginning of the 16th century in France. At that time with the help of papier mache they made different toys, dishes, figurines and furniture. The papier mache making technique consists of pasting a piece with torn pieces of paper. Pasting occurs in several layers.
Papier Mache Art
There are two ways to make papier mache do it yourself:

- Sculpting products from the mass consisting of soft paper and glue.
- Sticking torn paper in several layers. This method is called machining.
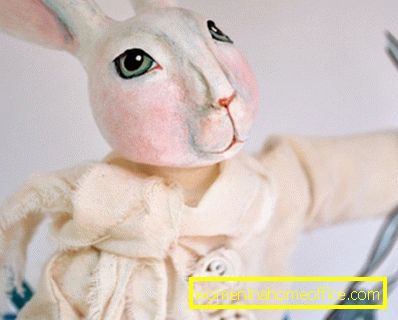
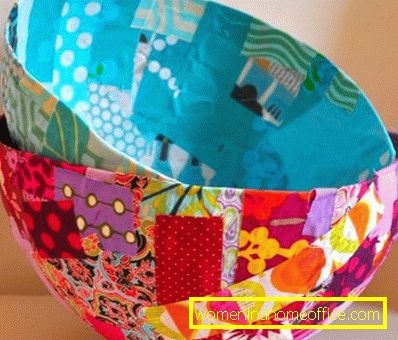
Mastering the art of papier mache do-it-yourself is easy enough, True, the process of making papier mache requires perseverance, accuracy and patience. Creating conceived crafts, be it a doll or a box, can take several days. The fact is that most of the time is spent on drying the product. But do not be discouraged, this time will not pass in vain, after adjusting to the manufacture of papier mache products, you can make money boxes, masks, caskets, dolls, dishes, etc.
Recently, the papier technique has been combined with the decoupage technique. Thus, you can create real masterpieces.
Papier Mache: how to do it yourself?

You will need:
- Newspaper sheets, toilet paper, paper towels or something similar.
- Water
- PVA glue
- Paste
- Primer
- Paints and brushes
- Clear varnish
Instruction:
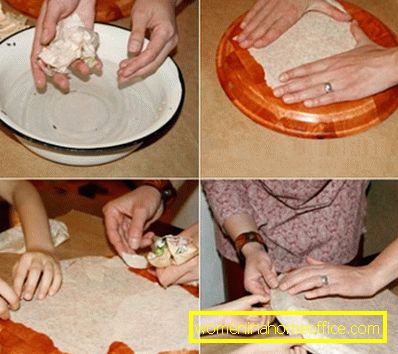
- Tear the newspaper sheets into small pieces, put in a deep bowl and cover with hot water. Leave it for 3 hours.
- After kneading the mass with your hands until smooth.
- Sieve excess water from the paper using a sieve, add adhesive mass consisting of glue and paste.
- Knead the mixture until it begins to stick to your hands.
- If you do not use the whole mass of paper mache to create products, you can store it in a cool place. Just do not freeze papier mache!
- During storage, papier mache can become liquid, do not worry - just slightly squeeze it out and add glue.
- To increase the strength of papier mache, Sawdust can be added to the mass.
- The papier mache paste is prepared from flour and water: mix the flour and water (1: 3). Put the mass on the fire, constantly stir the mass and bring to a boil. Remove the paste from the heat, cool, no more than 3 days.
- Paint the product can be oil, alkyd or tempera paints. Watercolor and gouache will not work, these paints are washed and stained. Painted products coated with clear varnish. Before dyeing, it is necessary to sand and prime the product.
Papier mache do it yourself: mashing
- Mashing- pasting the prepared form with pieces of paper. For this ideal newspaper sheets. The best option would be mixed pasting - The first layer can be made from colored or white paper, smeared with glue and glued to the second layer, consisting of newspaper fragments. Next, you need to alternate color and newsprint, so as not to get confused in the number of layers (10 layers are needed).
- Before you apply paper layers, the previous two layers must necessarily dry. Make sure that during the pasting process, the paper does not wrinkle, but lies flat, and the sheets come a little behind each other.
- Paper for machining can not be cut with scissors. The paper is only torn by hands into small pieces. This is necessary to ensure that the edges of the paper are well smoothed in the finished product, and not bristled in different directions.
- There are two types of machining.: internal and external. If the pasting form remains inside the product, it must be greased with glue.
- Wallpaper glue, casein glue or paste are ideal for machining.own cooking. The master for preparing is prepared in the same way as for ordinary papier mache, but it can be prepared in a different way: dilute starch with water and stir to a thick cream. Constantly stirring, gently add to the mass of boiling water (in small portions). As a result, you should have a mixture similar to jelly. When the mixture has cooled, it can be used for machining.
- Small parts of the product are glued from small pieces of paper. remember, that after drying the paper is reduced in size by about 2 times. If this happens, glue a few more pieces of paper until the part is the right size.
- Papier mache products are dried at room temperature for about 2-3 days with their own hands. It is strictly forbidden to dry papier mache products on the battery., otherwise, it may crack.
- The finished product is treated with sandpaper until it is smooth and level. After the product is primed. To do this, you can use a water-based or latex-based primer. The primer is applied with a flat brush in several layers.

- It is necessary to paint and varnish a product as well as a product from ordinary papier mache with your own hands.
Video instructions for creating various papier mache figurines can be found in the article Papier Mache: Master Class.
Papier mache do it yourself is an interesting, creative activity that develops imagination and perseverance. Offer some papier mache product to your children as a hobby. Let them develop and contribute to decorating your home environment.